Thirteen Acres is supported by our readers. When you buy through links on our site, we may earn an affiliate commission. As an Amazon Associate, we earn from qualifying purchases.
As if there weren't already enough decisions to make during the homebuilding process, another one to think about is your electrical. For most people, this will probably be the first time you'll have to think about electrical in your home. While this may be a little more work, it's also an advantage. You can have your house wired exactly how you want, so your switches and outlets are where you expect them to be. The builder and electrician will likely make recommendations based on past homes they've worked on, but this is your house, so it's important to think through your electrical plan and come up with what works for you.
Let's start with outlets - for the most part, your electrician will install outlets according to code, which is roughly one outlet at least every 12 feet along a wall. While this is standard and will work for most people and in most rooms, there are certain areas you may want to consider changing. For example, in our home we knew we wanted to put our cordless vacuum in a cabinet within the laundry room, so we made sure to request that an outlet be placed in there. We also plan to eventually put a small cabinet and countertop in our pantry and would like to keep our toaster and Keurig in there, so we asked for an outlet to be placed at counter height in that space. These are just a few examples, but here's a somewhat comprehensive list of areas to consider:
- Outlet in a cabinet or closet for charging a vacuum
- Outlets in pantry for charging or for appliances
- Outlet in master closet for steamer/iron
- Outlets behind/near TV area, computer area (family room, master, media room, offices)
- Outlets in bathroom cabinets - for razors, hair dryer, etc.
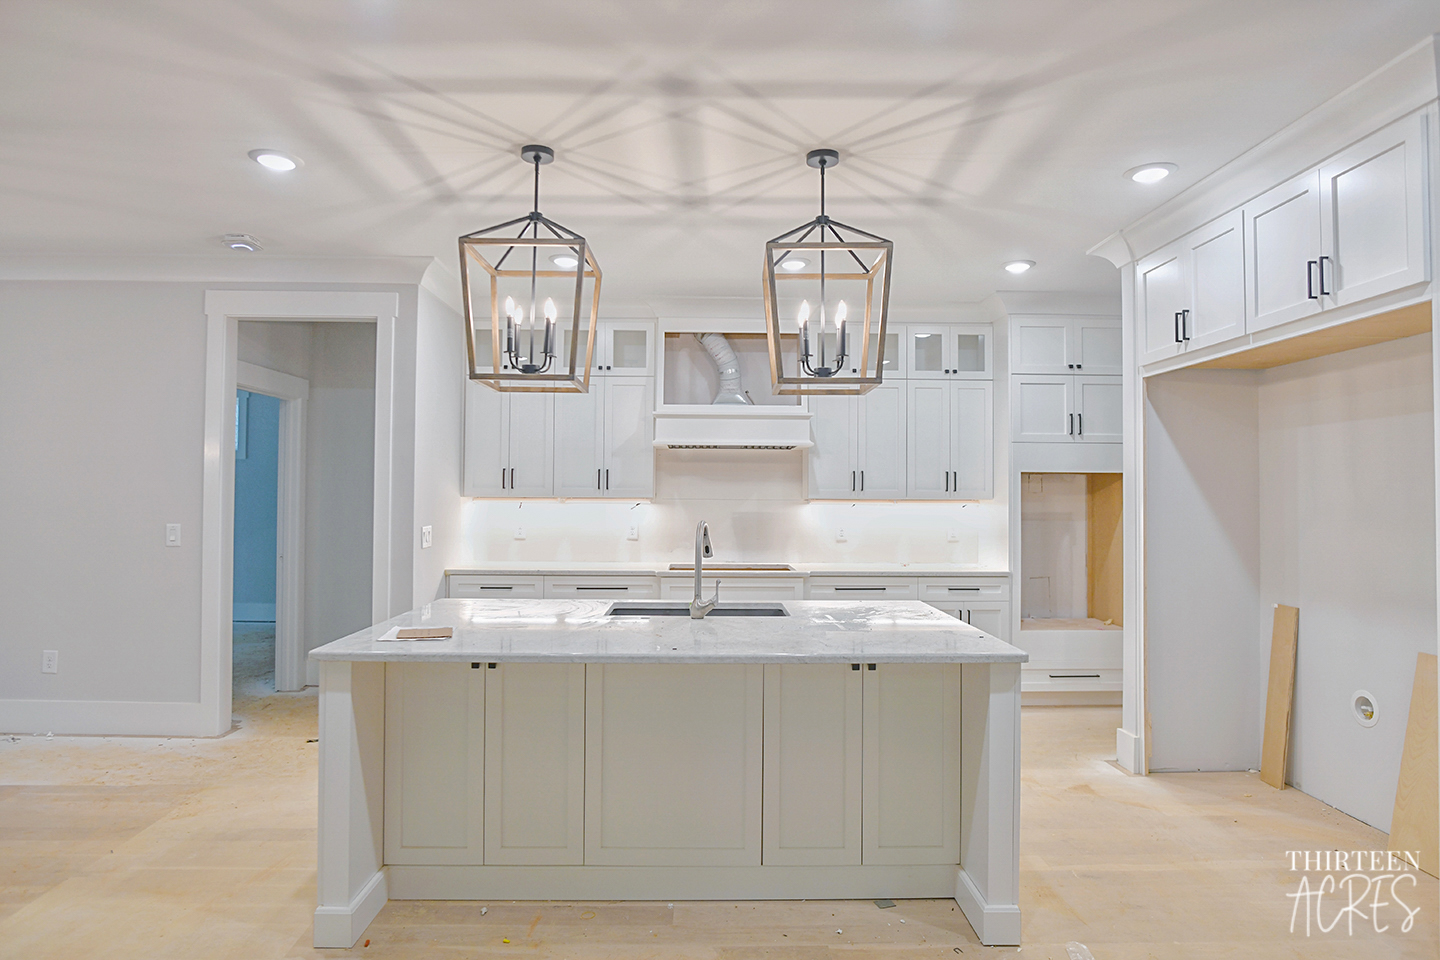
- Outlet placement in backsplash or around island (to either conceal the outlets or place them in a more useful location depending on how you'll use them)
- Outlets in the eaves on the exterior of home for Christmas lights (pro-tip: ask for these outlets to be put on a switch to make turning on your Christmas lights even easier!)
- Exterior outlets on front porch or other key places around the exterior of your home for Christmas lights, outside decor, or to use tools that require electricity
- Outlets in the yard and end of driveway area for landscape lighting
- Outlets in the floor in the living room (where lamps might go beside couch) or in an office for a floating desk
- Outlets on either side of where you plan to put your bed - we asked for ours to be 2-gang box (4 outlets), because we've had issues in the past with running out of outlets (we usually have lamps and our phones plugged in, but occasionally will need to plug in a humidifier, heating pad, alarm clock, etc.)
- Separate 20A circuit (220V if your tools need it) with outlets at waist height in the garage to plug in tools/specific outlet locations in the garage if you're planning to have a workshop area
- Include at least one 50A/220V circuit in the garage for an electric car. If you're planning on being in your house for any amount of time, there's a good chance you'll need this in the future. It's much cheaper to do while you're building than later on.
- Outlets for any tech (networking/tech closet, charging station)
- Outlet in master water closet for night light or air freshener
- Some people like to hide their outlets in their baseboard (if the baseboard is white, the outlet will blend in) - if that's something you're interested in, be sure to talk to your builder about that
While that may cover most of your decisions regarding outlet placement, that's not the only electrical related decision you'll need to make. You'll also need to consider the placement of your switches. This can be hard to do if your home hasn't been constructed yet. It helps if you look at your floor plan and visualize walking through the space. Try and picture how you would walk through your home and where you'd expect to reach out and turn a light on or off.
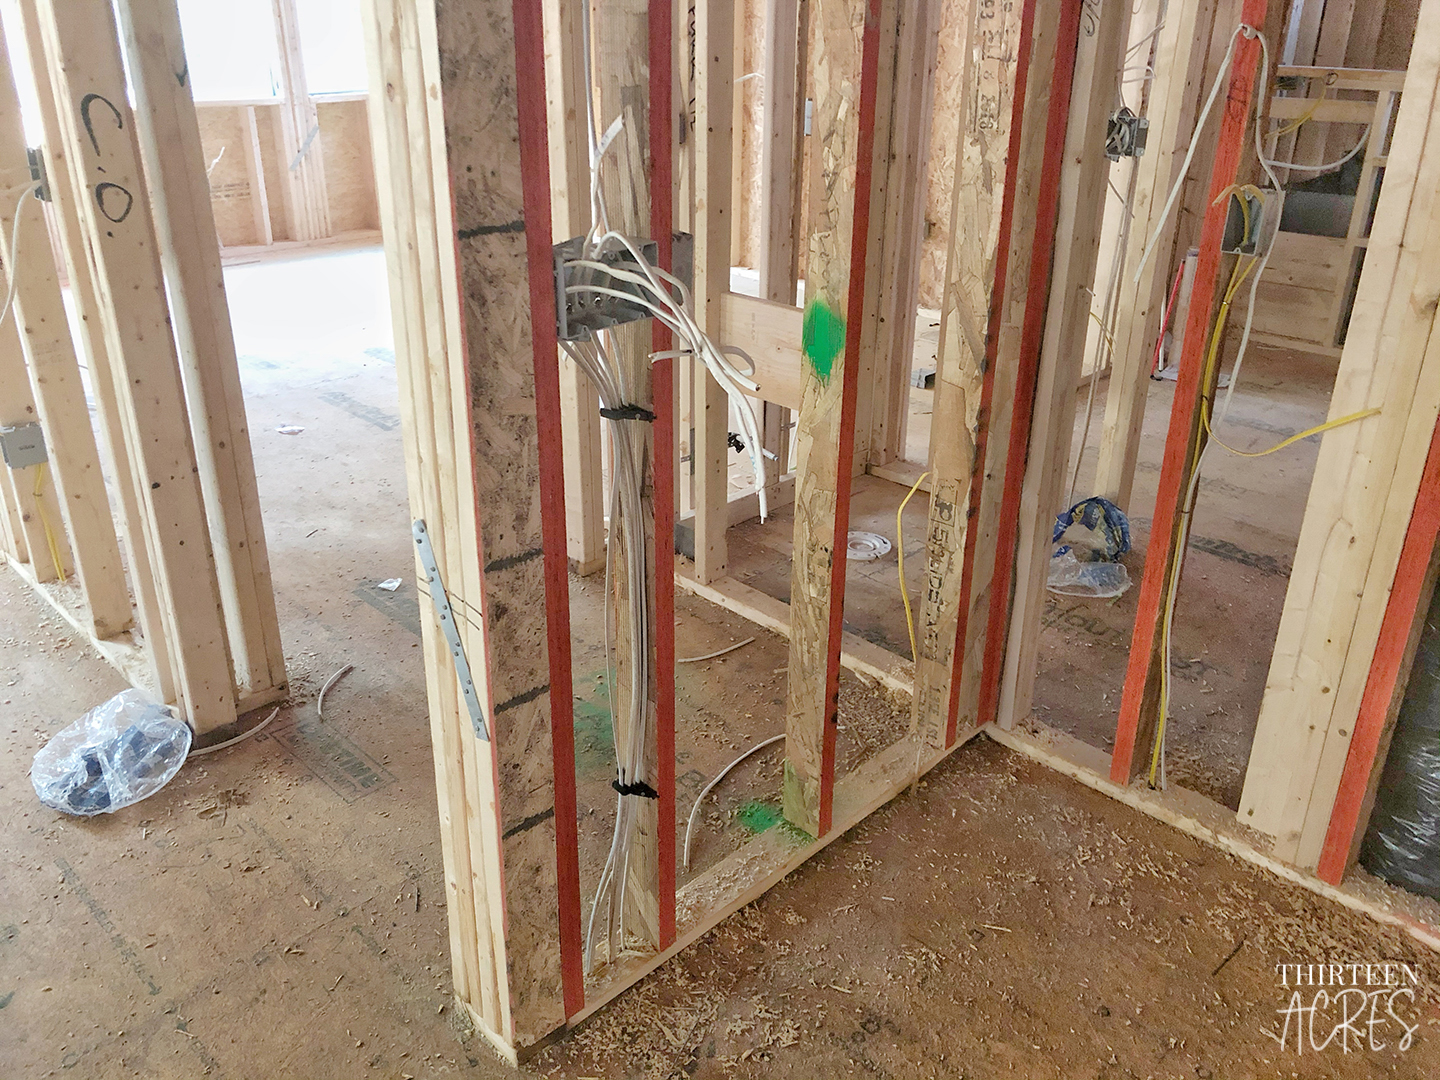
Though your builder may ask for your input regarding the electrical plan initially, remember that you'll likely do an electrical walk-through when your home is framed in, and you'll be able to make changes at that time. We recommend physically walking through the home at this point as if you live there to determine the best location for switches. Here are a few things to consider:
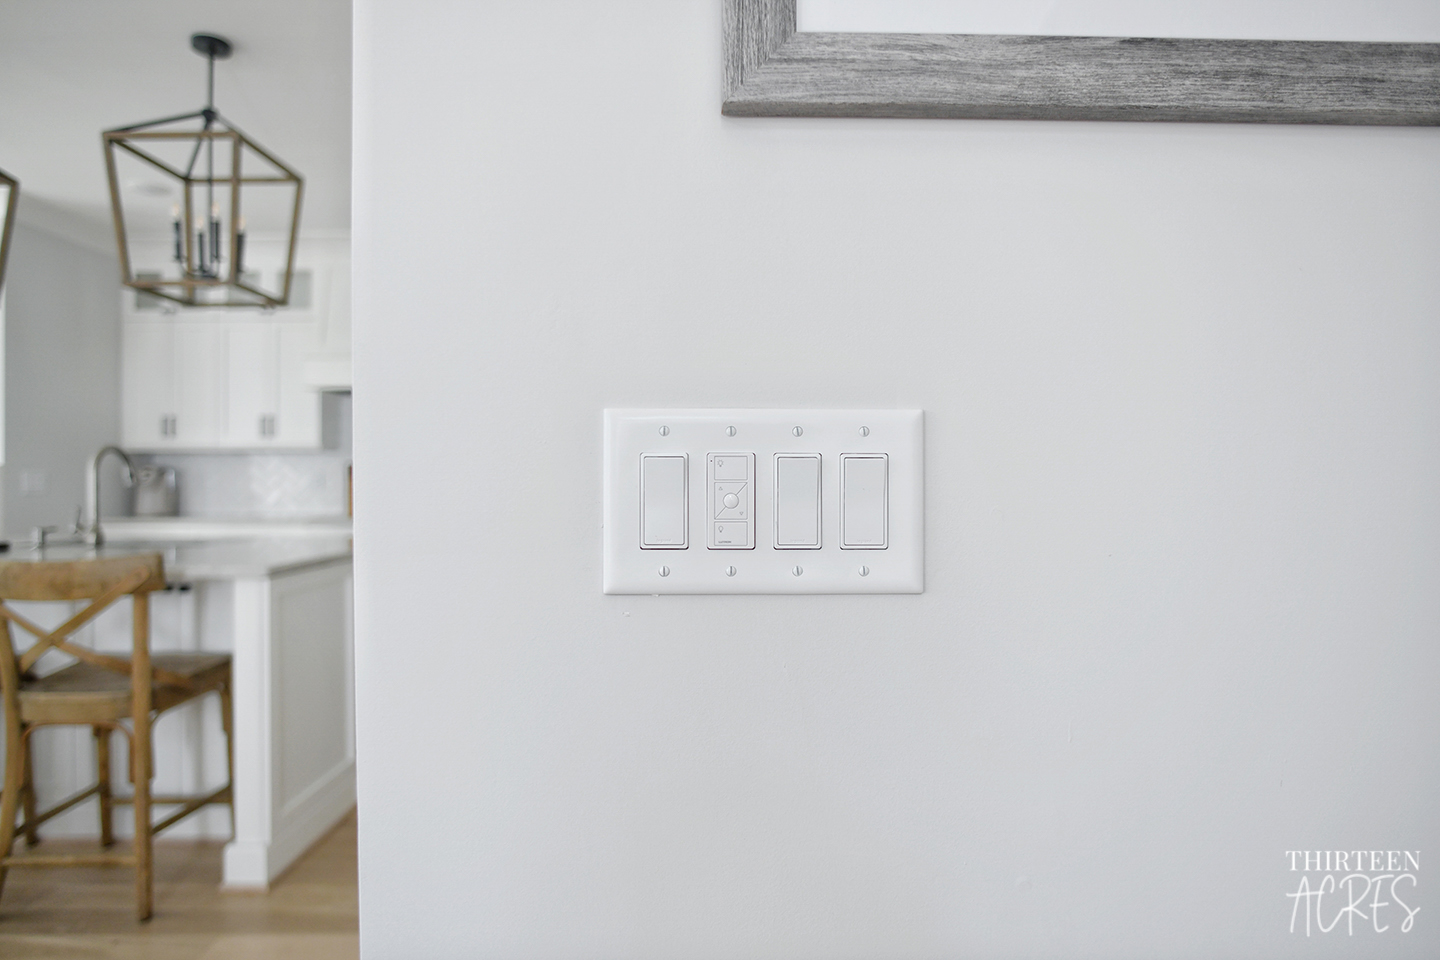
- Utilize multi-way switches anywhere you would be coming in from different directions (for example, we can enter our kitchen area from the back hallway, our master, or the living room, so we have three different switches in three different locations so that we can turn the kitchen light on no matter where we're entering the kitchen from)
- It's often forgotten, but if you are going to have an attic, be sure to put a light switch to the attic in the hallway (and remember to put lighting in the attic in general) so that you can turn the light on prior to climbing up there. In our previous home the light had a pull cord, so you had to climb up there and reach around in the dark to turn the light on. This also made it hard if you climbed down and forgot to turn the light off - rather than flipping the switch, you'd have to climb back up.
- Now that you're able to walk through the house, watch out for places that switches might be obstructed by things like doors - that could be a real annoyance to have to swing a door away from a switch every time you want to turn on a light!
- During the walk-through, there may be some slight adjustments needed to the location of the switches you had already planned. We had to move a couple switches because the boxes wouldn't fit once the framing was in place. Be prepared to have to make some changes.
Speaking of switches, there are also different styles. Our builder typically uses toggle switches, but we ended up spending a bit more to upgrade ours to rocker switches. They have the exact same function, but it just came down to style. For us, the rocker switches also allowed us to switch them out easier when installing smart switches and dimmers for some of our lighting, since most smart switches are rocker style. This made it worth the upgrade for us, because we knew that we'd be adding smart switches pretty soon after moving in.
Other electrical things you may want to consider:
- Placement of lighting (interior and exterior - consider where you might want to place flood lights)
- Ceiling fan placement
- Lighting in attic, closets, the pantry, coat closet, and hallway closets
- Jamb switches or motion sensor lighting (this is usually nice for closets and the pantry, or any rooms where lights are often forgotten and left on. The motion sensor will ensure that they turn off - saving electricity!)
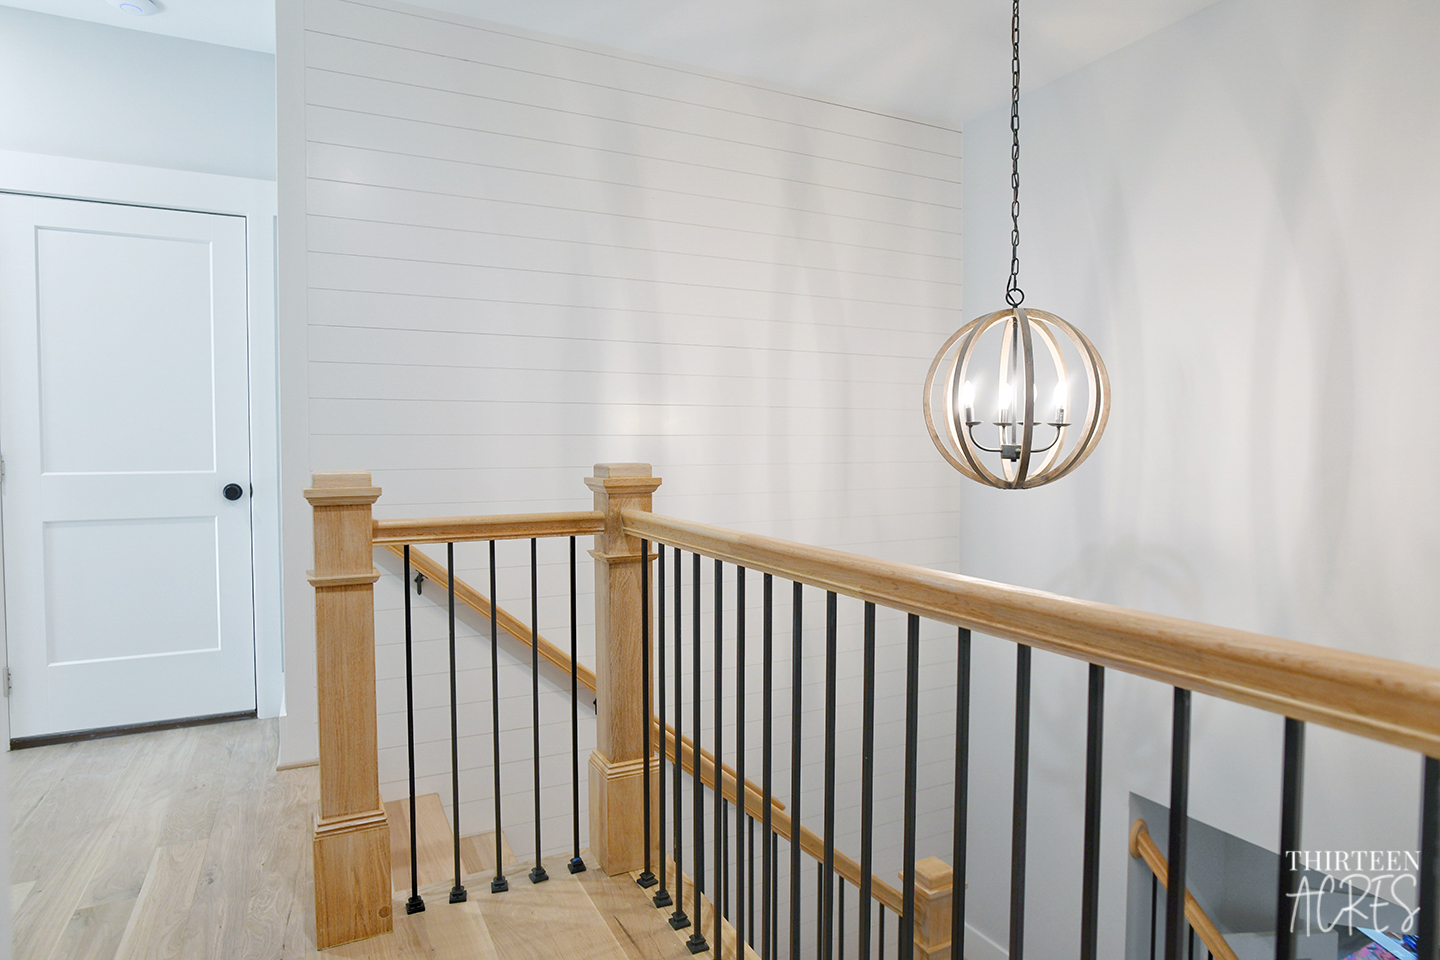
- Stairway lighting
- Under cabinet lighting or lighting in upper glass cabinets (if your home has them)
- If you have a crawl space foundation, be sure to add lights down there for anyone who might need to go down there in the future
- Consider whether you will want a generator, as the builder will need to install a transfer switch for this
- As an alternative to a generator, think about if you're going to install solar panels or a battery so that can be accounted for
- Landscape lighting
While we tried our best to take everything into consideration, we have found a few switches that we would have liked in a different location or even some that we could have done without. So remember that even if you do your best to plan the electrical accordingly, you still may find that you missed a thing or two. Is there any electrical related decisions that you wish you made in your new home or any that you made and can't live without?
Comments